My name is Armando Arellano. I do graphic design work here at Shelby Row Productions, and oh boy, are headshots more complicated than people think. Many people opt for posting a business headshot on their podcast cover art, which is great! For podcast shows that rely on a single person or two to deliver the content, placing your face out there as much as possible is a great idea.
So let’s talk about headshots. Some call them business portraits, corporate headshots, or other such names, the end result is still the same when it comes to placing it on a design.
In my opinion, there are three main ways that a headshot can be incorporated into a design (both in and outside of podcasting).
- Using the full image as the background.
- Cutting out the subject (background removal).
- Masking the subject into a shape.
Using the full image as a background:

This is primarily used when it’s not a typical “corporate-like” headshot. The subject may be posing in a more dramatic sense, or the environment is an important part of the image so cutting it would be counterproductive. This is a great option if the photography is professional or very high quality. Depending on the context (and especially for podcasting), you or the designer will need to add text to this design. Adding text over an image can be tricky if the image in question doesn’t have a one-colored space, like a big wall or the sky. These one-colored areas can serve as a great space for text to be overlaid (like the image above). If the image in question is very busy with no clear area to overlay the text, then the contrast between the text and background will need to be increased for the sake of discernibility. This can be accomplished in a variety of ways, including adding another solid shape to act as the background for the text, or perhaps darkening/brightening the existing background.
Cutting out the subject (background removal):
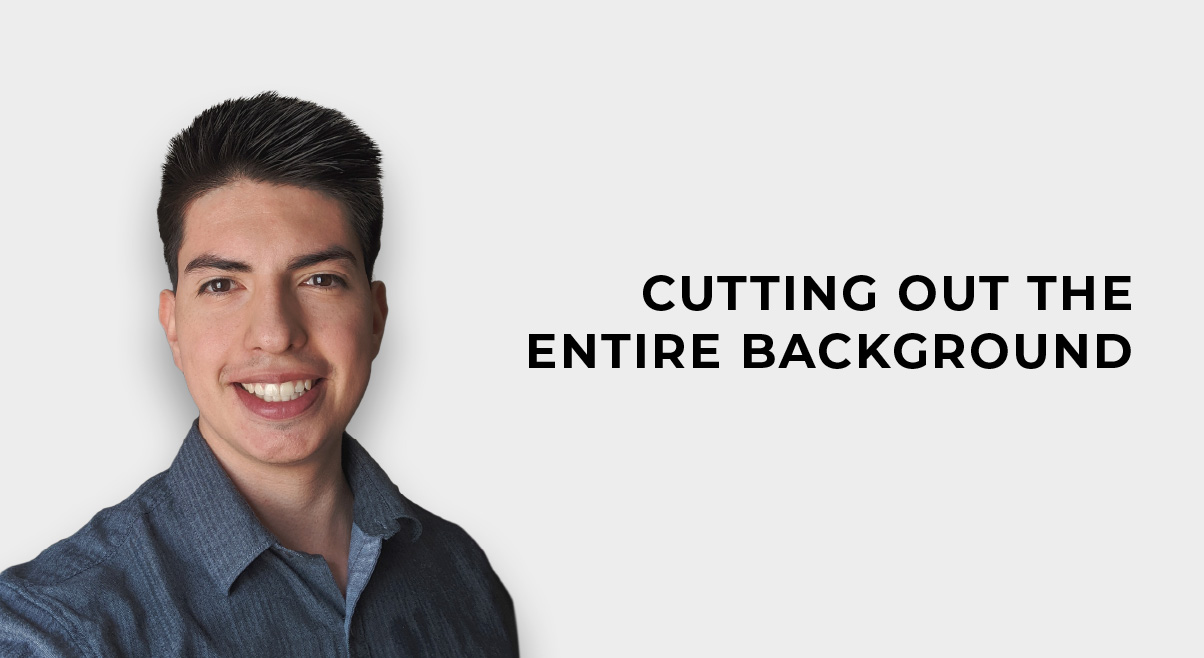
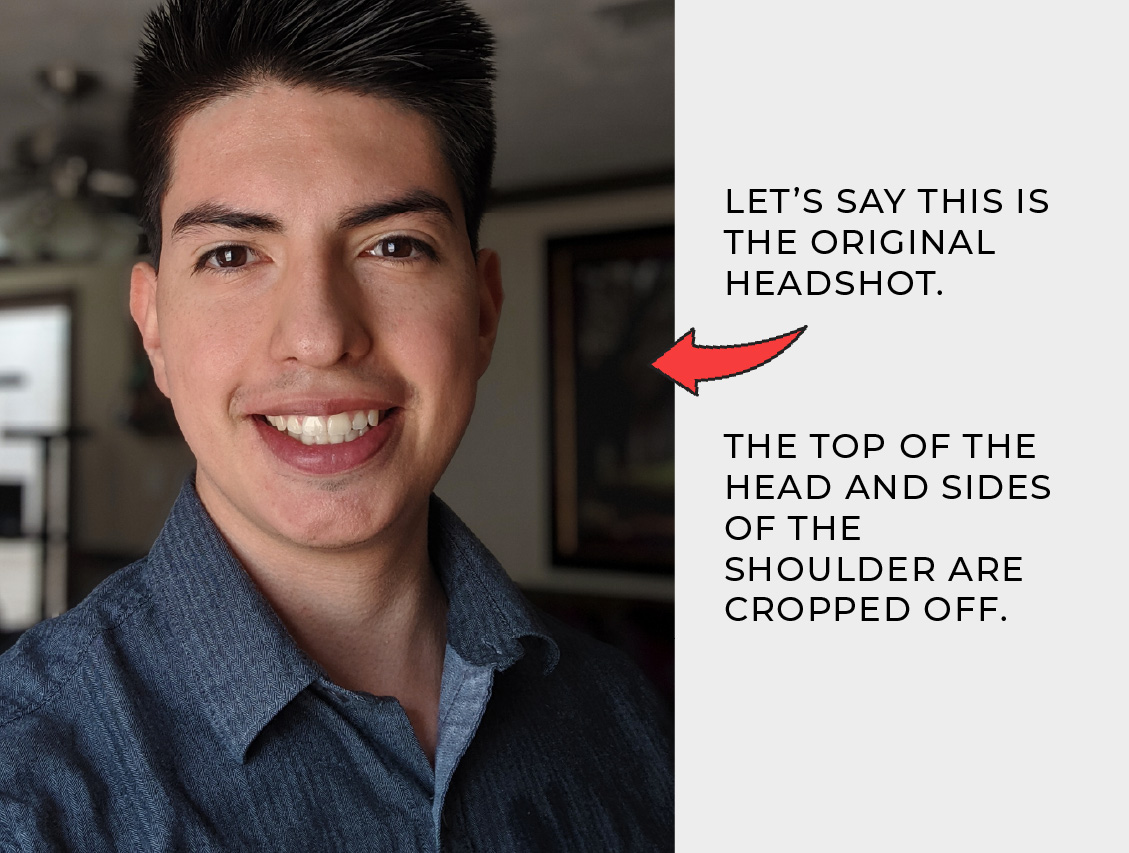
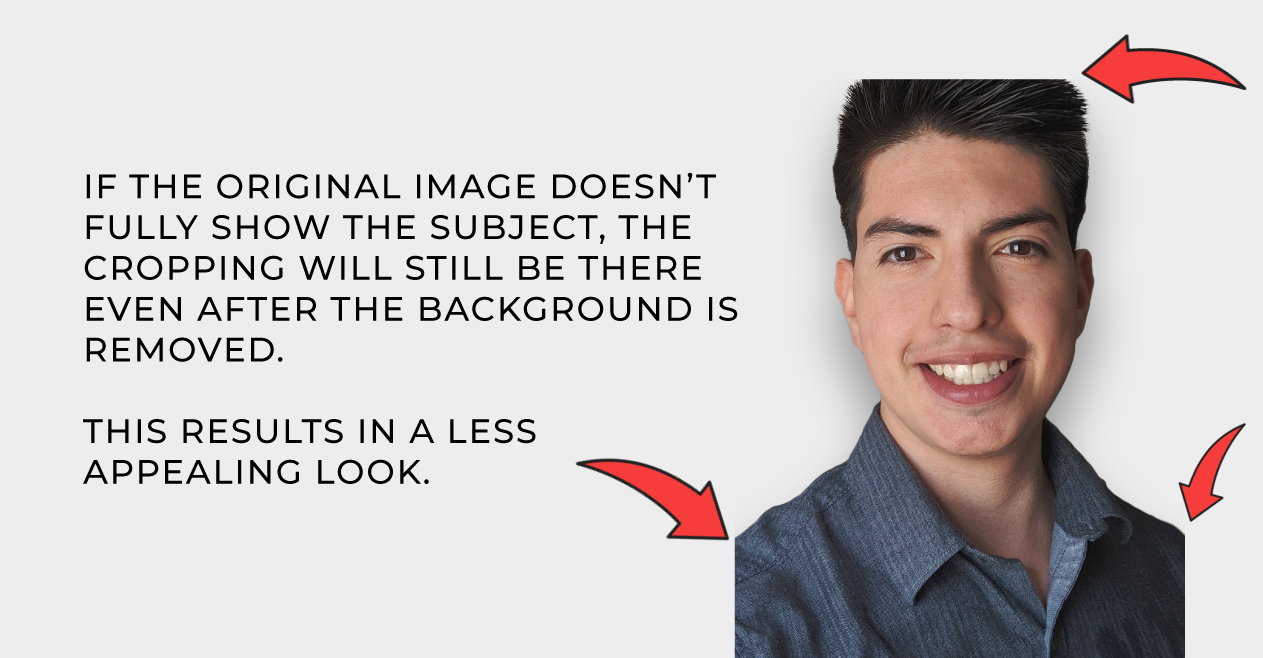
This one may be the cleanest look of all of the options. If you plan to reuse the design everywhere (like a podcast cover art), then isolating the subject from the background is a great option because it can quickly be pasted into other designs! It works best when the subject’s head and shoulder aren’t cropped out. Removing the entire background will depend on several factors, and you will need someone experienced with Photoshop to do this properly. At SRP, I generally design Episode Cards for every new guest that presents their headshot, which often involves cutting the subject from the surrounding background in order to neatly add the face to the custom episode card. Typically, female subjects are harder to remove from the background because of their hair. Oftentimes, I’ll work around this by redrawing the subject’s hair because it’s too blended in with the background, so it creates some unsightly fringing when you try to remove it. Unfortunately, this is not always possible or efficient. If the original photo is cropped, removing the background won’t produce the cleanest look.
Masking the subject into a shape:
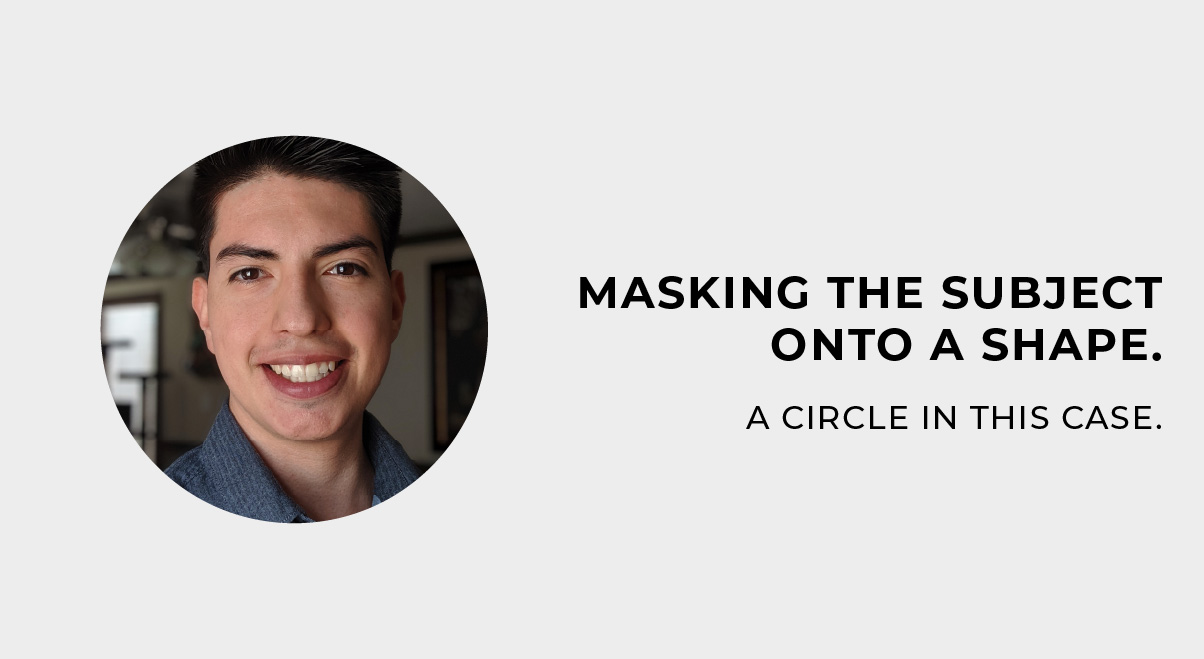
This may be the easiest one, but that doesn’t always mean it’s the least appealing! Masking the subject’s headshot into a shape (like shown above) gives the design the most flexibility when it comes to scaling and positioning. Most often the shape will be a circle, but it can also be very different depending on how abstract you want it to be. Depending on the headshot, masking it into a shape actually may be the only choice you have, especially if the subject’s upper body isn’t entirely in view (as shown in the example in the previous section).
Taking headshots on your phone
At some point, I’ll be making a post about taking a high quality headshot with a smartphone! (Hint: It’s not as simple as point and shoot.) Smartphones nowadays have gotten really good at taking great portrait shots. For example, my headshot (the face you’ve been seeing on this page) was taken on a Pixel 2 (now a four year old phone). I’ll update this post whenever that blog gets posted!